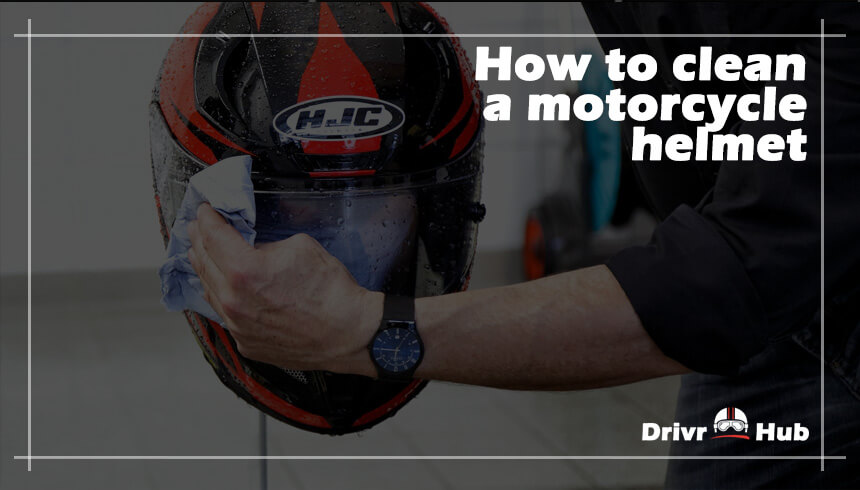
Whether you are a new motorcycle rider or have a decent amount of motorcycle driving experience, after a long ride your motorcycle helmet will somehow have an unpleasant odor and a dirty surface. A motorcycle helmet not only protects your head from injury but also blocks UV rays, raindrops, rocks, insects, and dirt from getting on your face. Looking at all this mess, you naturally have an irresistible desire to thoroughly clean it, both inside and out.
Where do I start to clean my motorcycle helmet?
Step 1: Prepare everything you will need
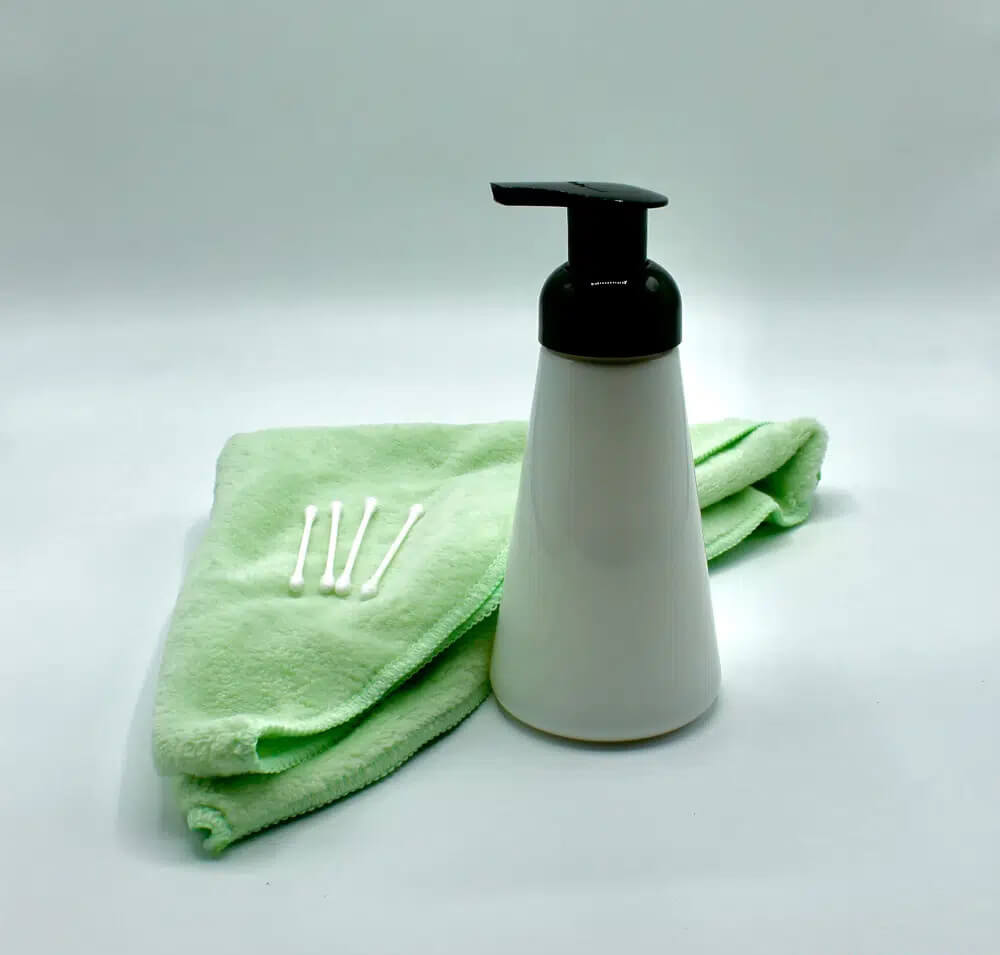
Before you begin, gather all the necessary cleaning supplies and utensils. You will need:
- clean microfiber cloths,
- old toothbrush with soft bristles,
- baby shampoo or a mild soap solution,
- warm water,
- cotton swab,
- sometimes silicone oil.
Of course, you can also use special cleaners, but in most cases, you can get rid of large dirt with simple household remedies and do not need to invest a lot of money. Avoid aggressive cleaning agents.
Step 2: Remove all accessories
Regardless of which type of helmet you are using, before removing the visor and inner liner, remove all accessories such as the microphone, batteries and Bluetooth headset. The attachment of the visors and inner liners varies depending on the helmet model. Therefore, you should read the instruction manual that came with your motorcycle helmet. Some pads attach with buttons, others with Velcro or magnets at specific points. It is best to write down the removal of each individual part in exact order. Then you can correctly reassemble your helmet in reverse order.
Step 3: Soak the outer shell of a motorcycle helmet
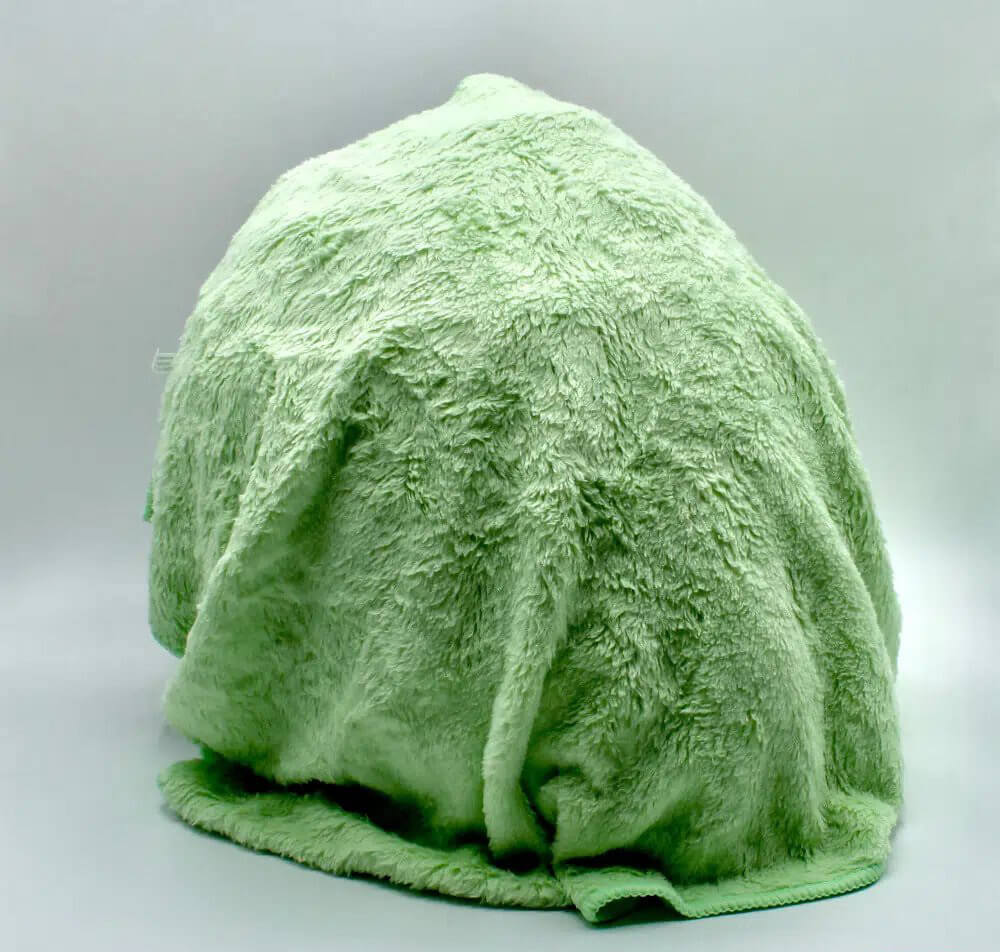
A stubborn, sticky crust can quickly form on the outer shell of the helmet. Never handle sensitive material with harsh cleaners or scrub hard so as not to scratch the surface. Dampen a soft cloth with warm water, place it on your helmet and leave it for about half an hour. In the meantime, you can clean the visor.
Use only warm water and a clean microfiber cloth. Avoid chemical cleaners and rough rags or brushes to avoid leaving scratches on the sensitive paint layer. A toothbrush can reach hard-to-reach small parts of the folding mechanism.
Step 4: Wash the liner
Most new liners can be washed in the washing machine on a gentle cycle (no spin) at a low temperature. If you are unsure and can't find the information in the instructions, wash it by hand in a basin of cold water. You can use a mild baby shampoo or foam of natural or neutral soap. Never dry the lining in the dryer, but hang it up and let it air dry. If the inner lining of the helmet cannot be removed, you should gently apply some baby shampoo to it and then wipe it again with a damp sponge.
Step 5: Clean the helmet shell thoroughly
You can now remove the cloth from the outer shell that you put on the helmet in step 3, and you'll be pleased to find that there's probably quite a bit of dirt already stuck to it.
Use a new, damp microfiber cloth to gently wipe the outside of the helmet and remove any remaining dirt. Always use only lukewarm water when cleaning the helmet.
If you do find sticky residue, you can gently brush it off with a soft toothbrush or cotton swab. Use a toothbrush with soft bristles to get to the hard-to-reach areas. Then wipe the helmet shell again with a fresh cloth and it will now look new again.
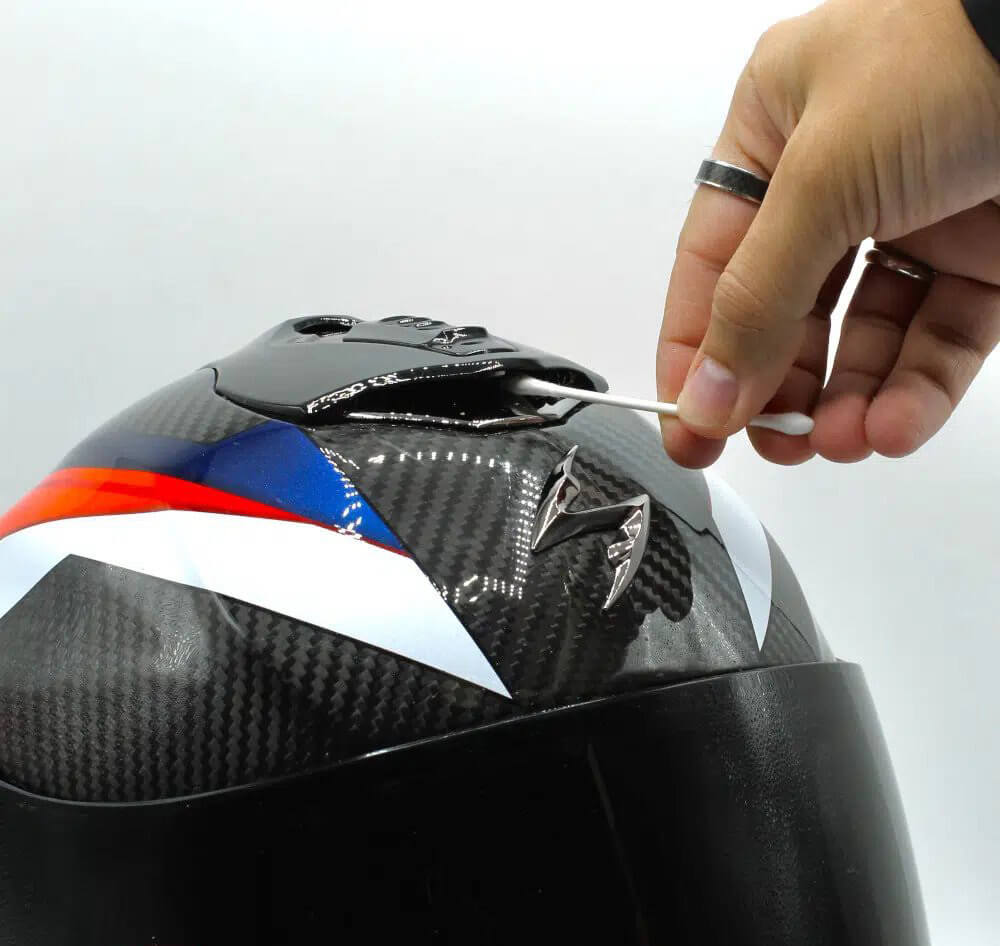
Step 6: Clean the vents with compressed air (if necessary)
Sometimes a piece of dirt or an insect gets stuck in the helmet vents. A quick blast of compressed air will be very helpful in cleaning hard-to-reach areas.
Step 7: Cleaning the visor
Most modern visors have some sort of protective coating to protect against UV rays and fogging. For this reason, you should not use anything but warm water for the outside of your helmet. Read the helmet care instructions and make sure you are not violating the manufacturer's warranty.
The best way to wash your visor is to simply use a damp microfiber cloth and gently remove dirt, dust, or stains. You can also leave a damp microfiber cloth on the visor for a few minutes to soften insect residue and dirt, which will make the job much easier.
Helmet care tips
- Do not use harsh soaps so as not to damage the paint;
- Try to remove insect residue from the visor and helmet immediately with a soft cloth so that it does not dry out and become difficult to remove;
- Do not apply excessive pressure, especially on the visor so as not to scratch it;
- Do not let the inner cover dry in the sun so that it does not become deformed;
- Do not use a hair dryer or other heat sources to speed up the drying inside, you will avoid irreparable damage.
Bottom line
Your helmet needs as much care as your bike, so don't be lazy and pay attention to it at least once a month.
The service life of a helmet is 5 years. At the end of this period the helmet should be replaced as the material of the helmet changes its features at this time and becomes more brittle and can not protect you.
And remind you that the helmet is disposable protection. After the fall and impact - the helmet works off and loses all protective properties. This does not apply to falls from a table. Helmets are calculated on the fact that there is another 5 kg inside (i.e. your head) - then the helmet works at full capacity.