What color is gasoline?
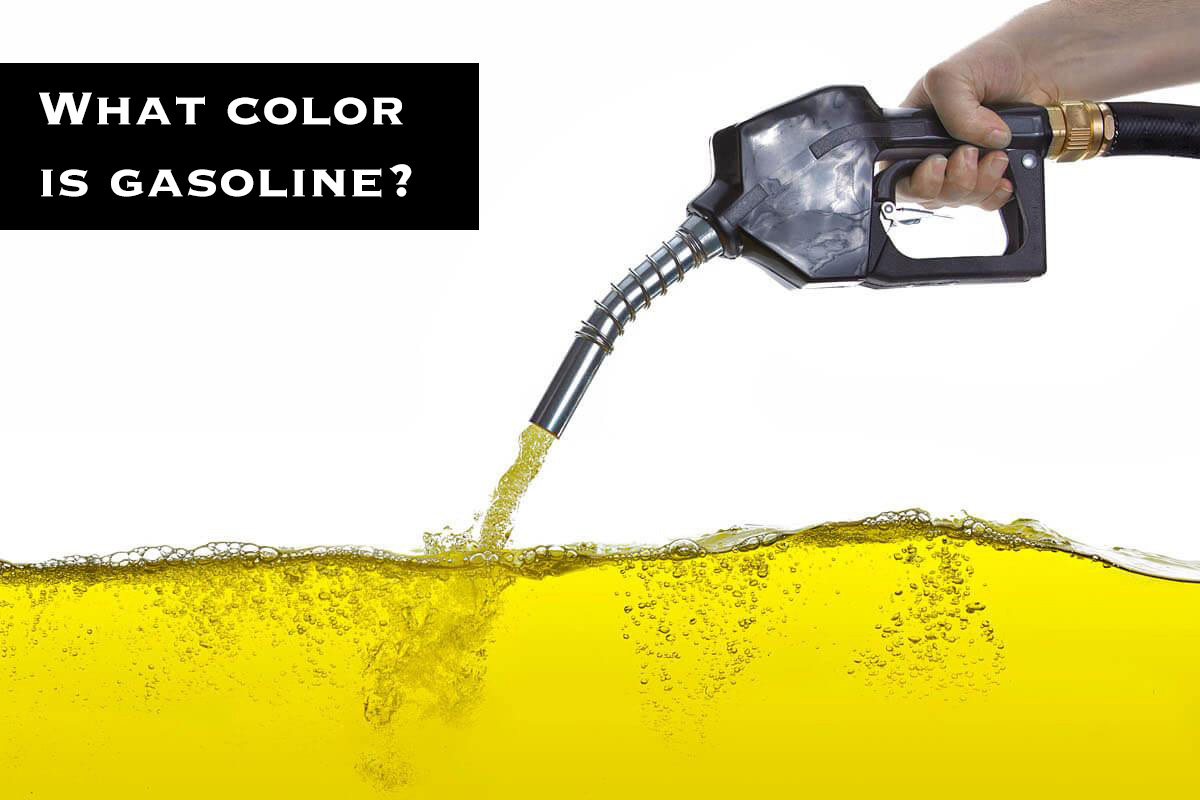
What color is gasoline? That’s a good question and one that is pretty much impossible to answer. The color of gasoline (more specifically petrol), like all other liquids, changes with the light source it reflects. This means that if you were to take a sample of gasoline outside on a sunny day, it would look … Read more